Rooms are an essential component of digital building models. In architecture, rooms are used to calculate floor area and volume and to graphically represent functions. Rooms also provide information about the objects they contain, such as furnishings, technical equipment, etc.
In building services engineering and building physics, important information for various simulations is stored in rooms.
Rooms are included in the model from the very earliest planning phase; here, they serve, for example, to document the space requirements of a space and functional program. They enable applications such as:
- Area Calculation
- Volume calculation
- Gross floor area calculation
- Color schemes
- Load plans
In this phase, the room is constructed.
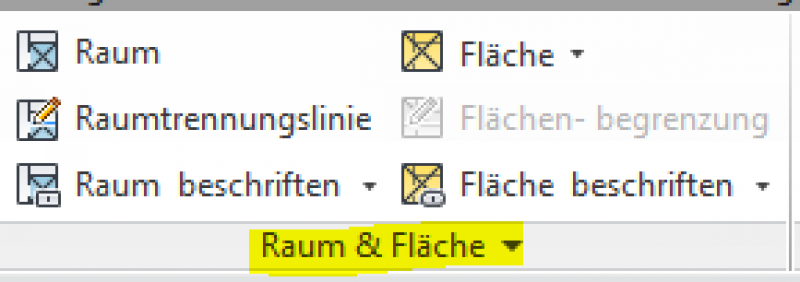
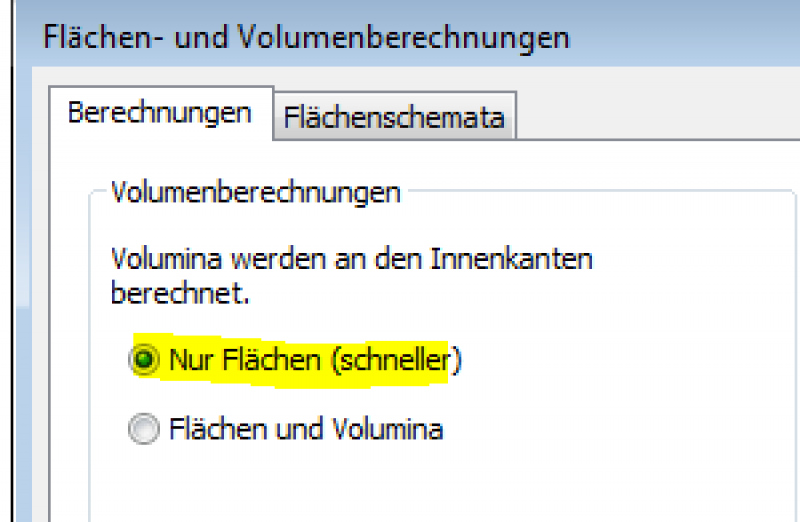
NOTE: For performance reasons, we recommend selecting "Areas Only" under Architecture > Rooms & Areas > Area and Volume Calculations.


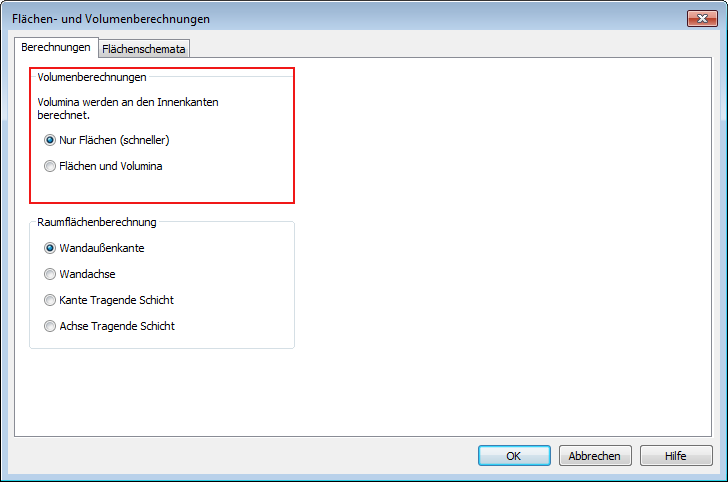
If the volume calculation is needed later, it can be reactivated using "Areas and Volumes."
Features
In this phase, the component is placed for the first time and automatically assigned geometric features.
Feature
- Feedback requested
- Accessibility
- Occupancy
- Daily occupancy
- Intermittent heating
- Floor level
- Air conditioning
- Central air conditioning
- Artificial lighting
- Artificial air exchange rate
- Storage of flammable materials
- Humidity
- Humidity (heating)
- Humidity (cooling)
- Maximum humidity
- Humidity (minimum)
- Natural ventilation
- Natural air exchange rate
- Type of use
- Publicly accessible
- Room category
- Room name
- Reference
- Safety zone
- Sun protection required
- Default element
Parameters
- Sun exposure duration
- Gross target area
- Gross floor area
- Net perimeter
- Gross volume
- Gross ceiling area
- Ceiling top edge
- Area per user
- Maximum occupancy
- Minimum room height
- Net target area
- Room temperature
- Maximum room temperature (heating)
- Room temperature (heating) minimum
- Room temperature (cooling) minimum
- Maximum room temperature
- Room temperature minimum
- Gross floor area
- Height
- Envelope area
- Vertical surface area (gross)
Outline Information
- External element
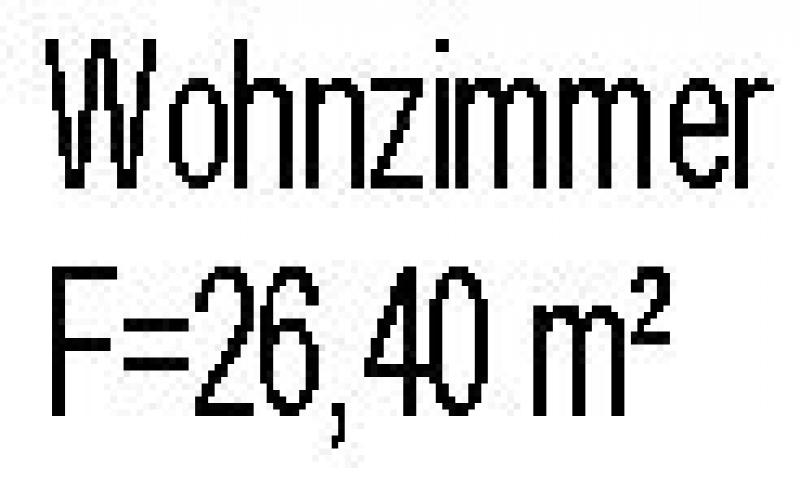
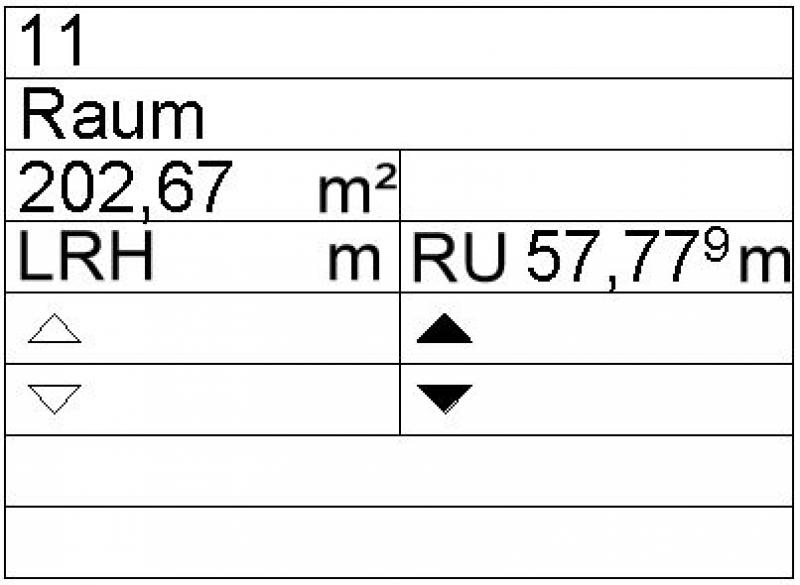
Labeling
In this phase, the following aspects of the room are labeled:
- Room Name
- Area (in square meters)
Instructions
Creating a room:
Rooms are bounded vertically by walls and horizontally by ceilings or floors. They are typically modeled from the top edge of a floor to the bottom edge of the exposed ceiling of the respective story. In some cases, the bottom edge of a suspended ceiling may also serve as the upper boundary of the room.
Spaces can also be defined by artificial elements, such as room dividers, other room edges, etc., if there is no adjacent wall.
A room is a versatile object that can be used to define various elements:
- Area Calculation
- Volume calculation
- Net floor area calculation
- Color schemes
- Load plans
For example, Revit uses the height of a room to calculate its volume.
Room partitioning:
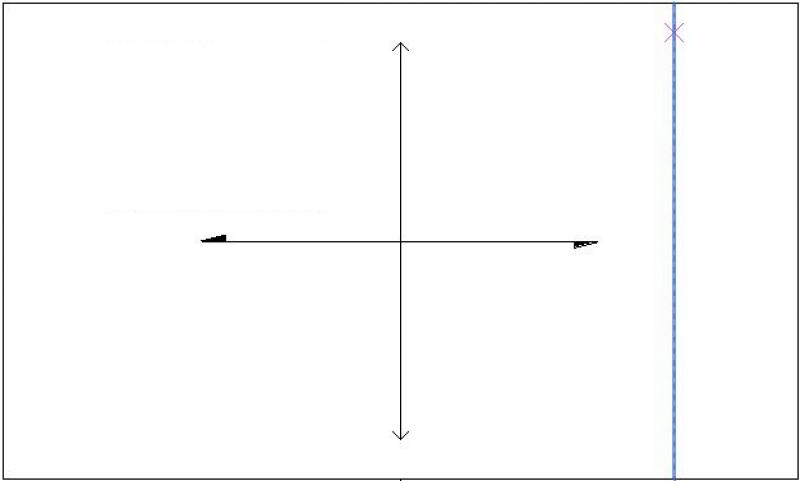
If the room is intersected by a floor slab or a roof, that object automatically defines the room’s upper boundary. The room is enclosed by walls, structural columns, or room division lines. Room division lines can be used to add or adjust room boundaries. Room partition lines can be used to manually define a room area, such as an open dining area in a living room. Room partition lines are generally visible in plan views and 3D views.
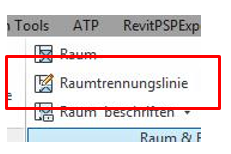
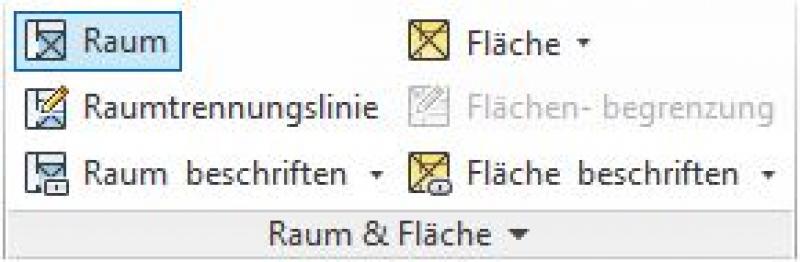
Room partition lines are drawn in the floor plan using the Room Partition Line -> Drawing Tools command. Sketch mode is exited by clicking the green checkmark.
Notes:
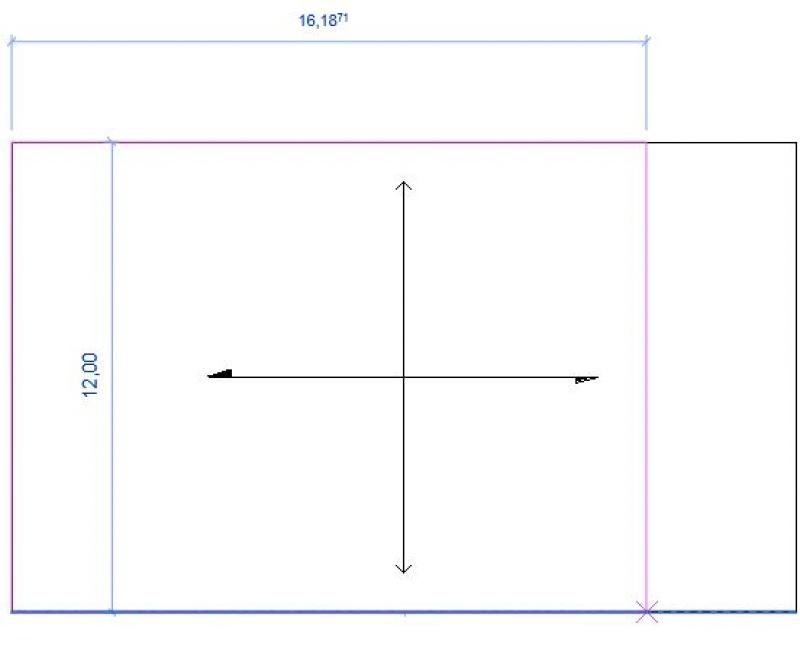
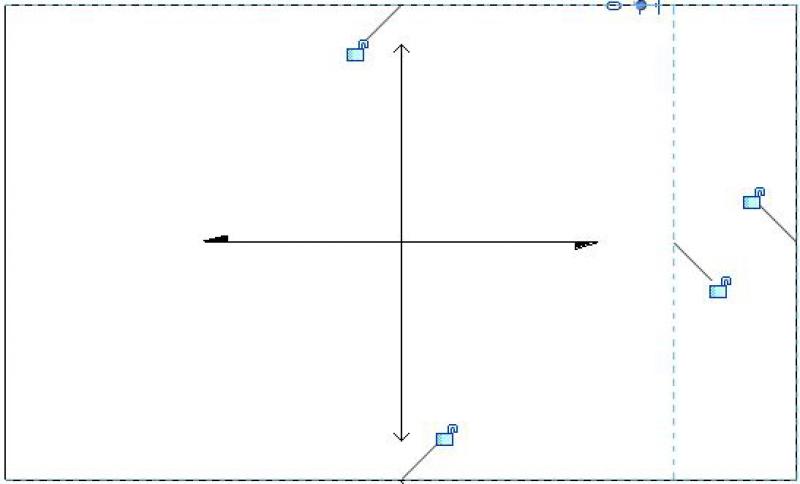
The room boundary is normally invisible and only appears if you want to use it to define additional zones. In this case, Revit automatically selects the corner point of the previously created room boundary again.
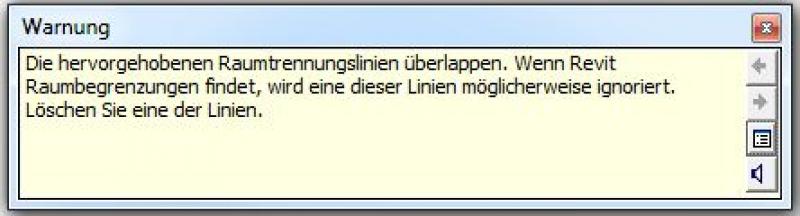
If you use the Rectangle Tool to create room divider lines, you may see the following error message: "The selected room divider lines overlap." In this case, simply delete one of the two lines.
Clicking the "Room" button also restores the visibility of an area that was previously marked with a room divider. You can now place a room there.
If the room is already bounded by a load-bearing wall, it is neither necessary nor advisable to establish a room division line (source of error).
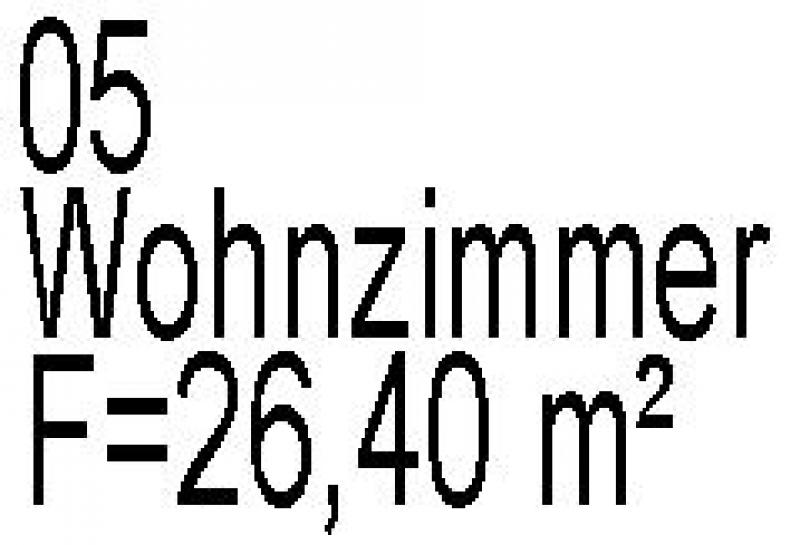
Room signage:
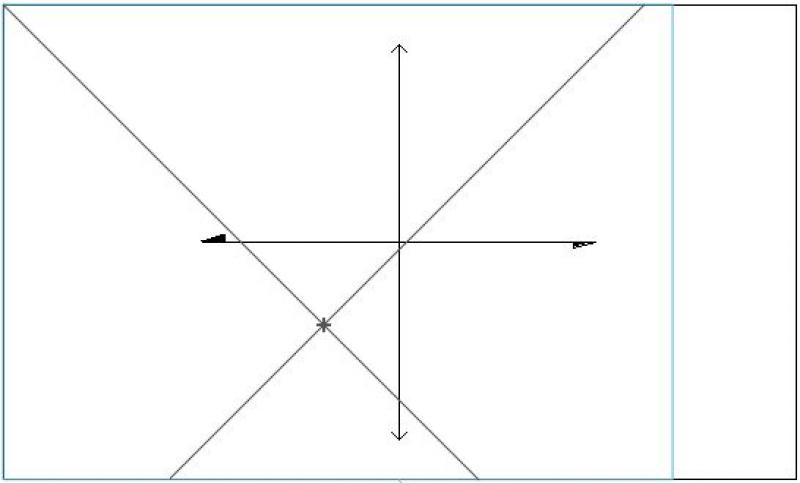
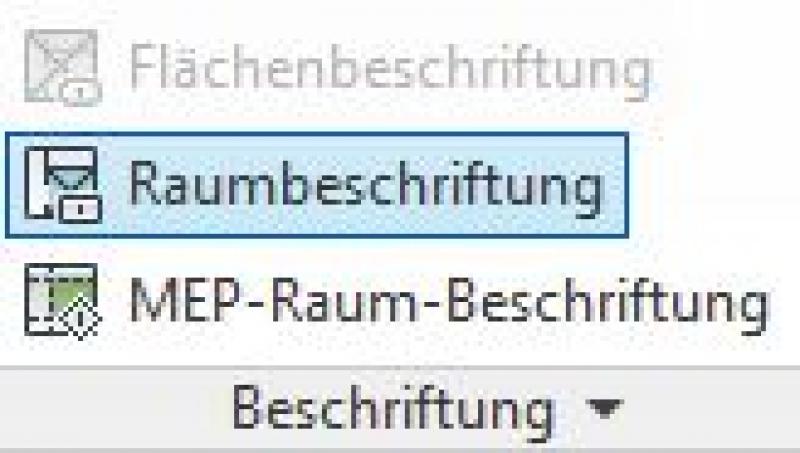
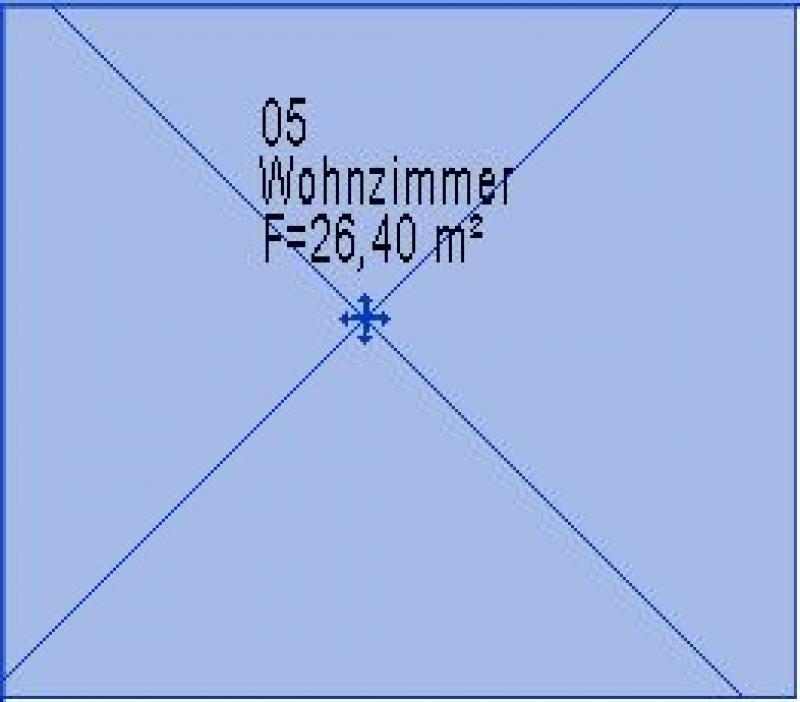
If the room is not labeled automatically, you can do so later by clicking the Label -> Room Label button. The label family automatically retrieves the room's properties.
To do this, first select the area to be labeled; the label will then be placed automatically.
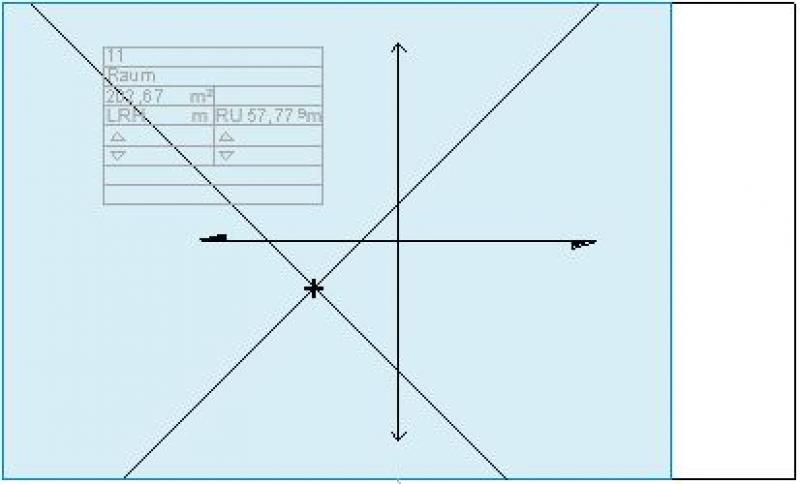
In some cases, the text may appear only in gray:

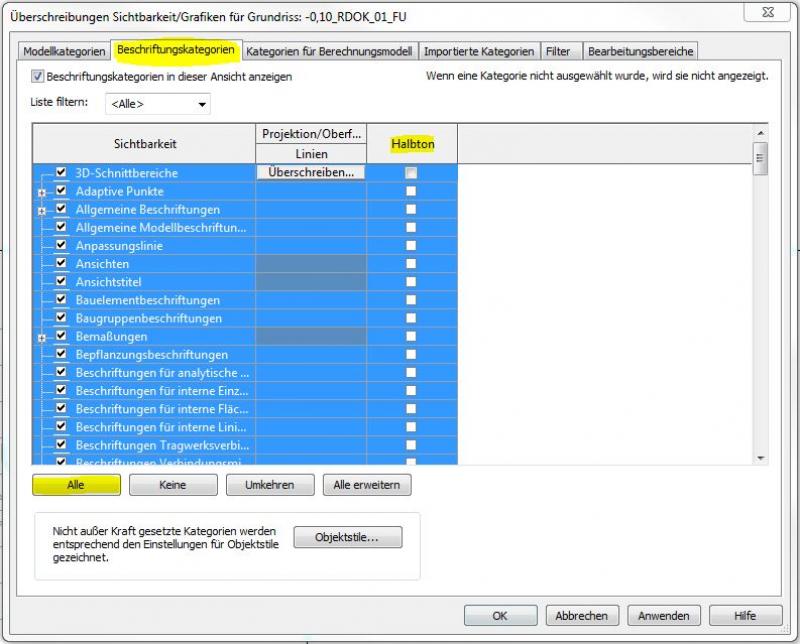
However, labels should always be displayed in black. Under the "Visibility/Graphics" tab, you can make the labels more visible by selecting "Label Categories" > "All" > "Disable Halftone."
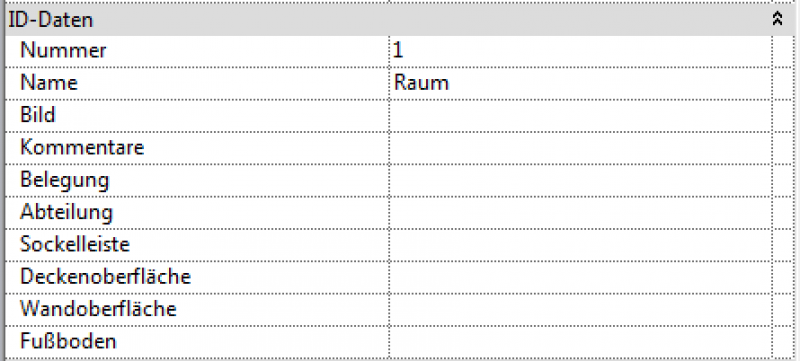
You can edit the information in a room's properties that is displayed in the label. To do this, select the room and make the desired changes.
The bottom reference of the room—that is, the layer on which the room was placed—is read-only in the room's properties. This means the room cannot be moved to a different working layer via its properties.
Copy a room that is in the wrong location to the clipboard using Ctrl+X (Cut). Now switch to the correct view and use Ctrl+V (Paste) to place the room back into the floor plan.
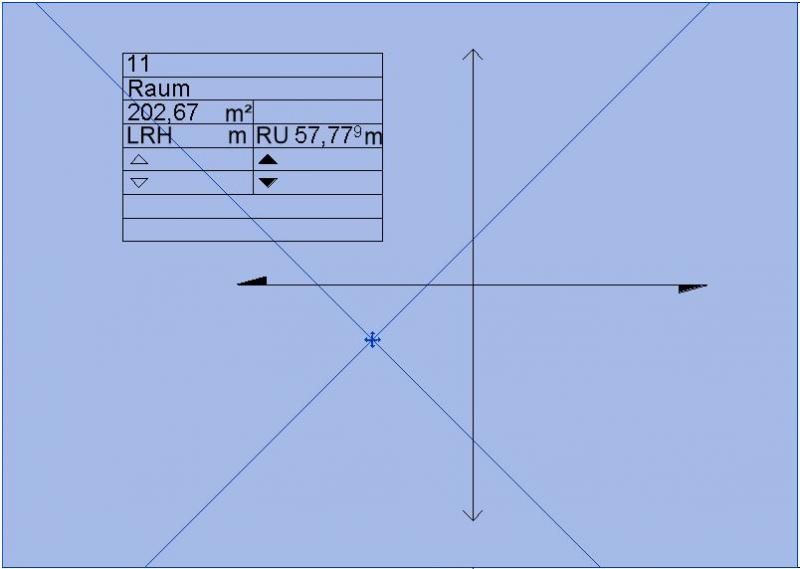
For greater clarity, room labels should always be placed at the intersection of rooms. If room intersections are located in an inconvenient spot, the label set should be moved along with the respective room intersection.
For elevator shafts and stairwells, the space is modeled floor by floor, therefore, rooms here should be modeled from the top edge of the floor (e.g., ground floor) to the top edge of the floor of the story above (e.g., in this case: first floor) to avoid creating gaps in the model.
For elements that generally define the boundaries of a space (walls, roofs, floor slabs, ceilings, columns, facade systems), you can specify in their properties whether they define the boundaries of a space or not.
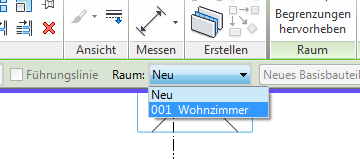
Rooms that have already been created and then deleted remain in the database. If these deleted rooms are needed again, they should be reused from the existing database. These rooms can be found under Room -> New.
Features
Feature
- Accessible parking space
- Fire hazard class
- Pressure ventilation
- One-way street
- Unit name
- Escape route
- Design volume
- Long name
- Sprinkler protection
- Automatic sprinkler protection
- Number of parking spaces
- Parking space type
- Daylight factor
Parameters
- Net floor area
- Floor height
- Required illuminance
- Clear height
- Net floor area
- Net volume
- Vertical surface area (net)
Outline Information
Labeling
In this phase, the following aspects of the room are labeled:
- Room Name
- Area (in square meters)
Instructions
Features
Characteristic
- baseboard
Parameters
Outline Information
- Unit number
Labeling
In this phase, the following aspects of the room are labeled:
- Room number
- Room name
- Area (in square meters)
Instructions

Features
Labeling
The rooms will be labeled with the appropriate information in accordance with official guidelines.
Instructions
Features
Labeling
The following aspects of the space are also included in the design:
- Phase: Execution
- Area
- Lower edge
- Floor structure
- Top edge
Instructions
In this phase, additional information relevant to the room’s finish—such as details regarding the appearance of suspended ceilings or the surface texture of the walls—is assigned to the room. This information can be entered manually or, better yet, transferred automatically from the components to the room.

Unfortunately, this content is available only to our Pro users.
If you'd like to read the full article, try the Pro account or become a Pro user.