Surface-mounted doors have a frame that is mounted to the wall on one side. Surface-mounted frames are typically used on thin walls or for special wall connections. In renovation projects, surface-mounted frames are often used to minimize the loss of clear opening width.
Search terms: Frame, BR_D1, BR_D2, wooden door, door leaf
Information on handling doors in the early design phases is described in the article "Doors: General Information."
In this phase, surfaces are defined. Building physics properties are also added to the component.
Presentation
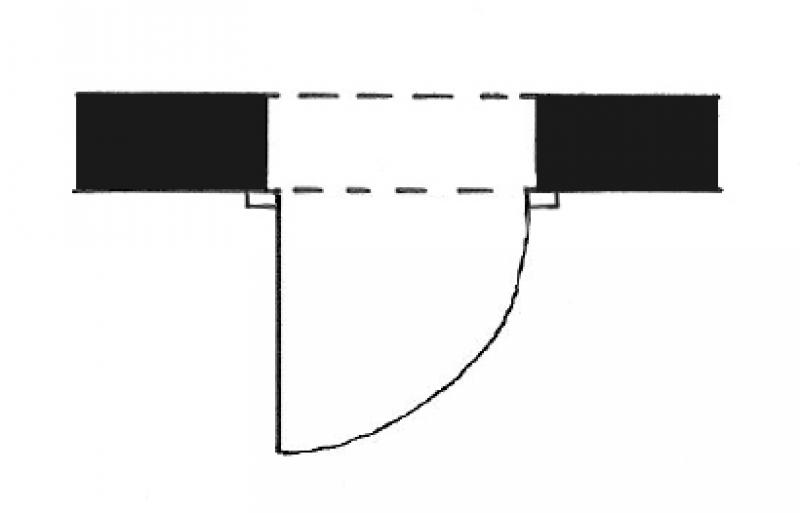
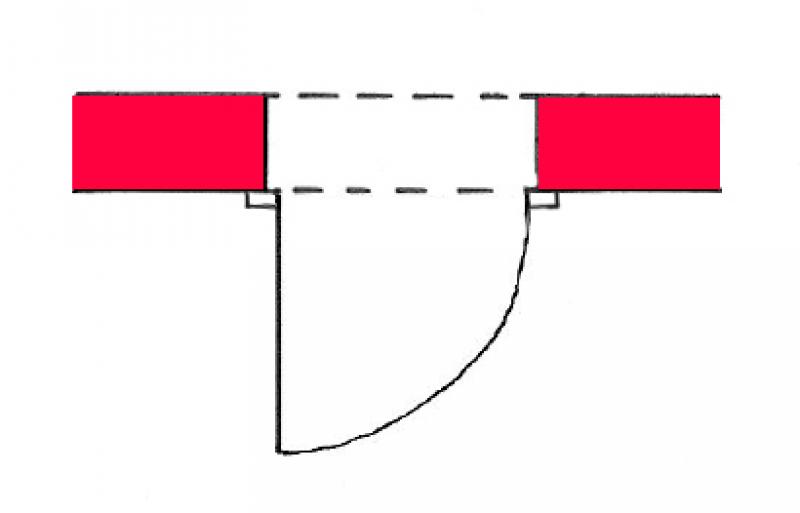
Plan view
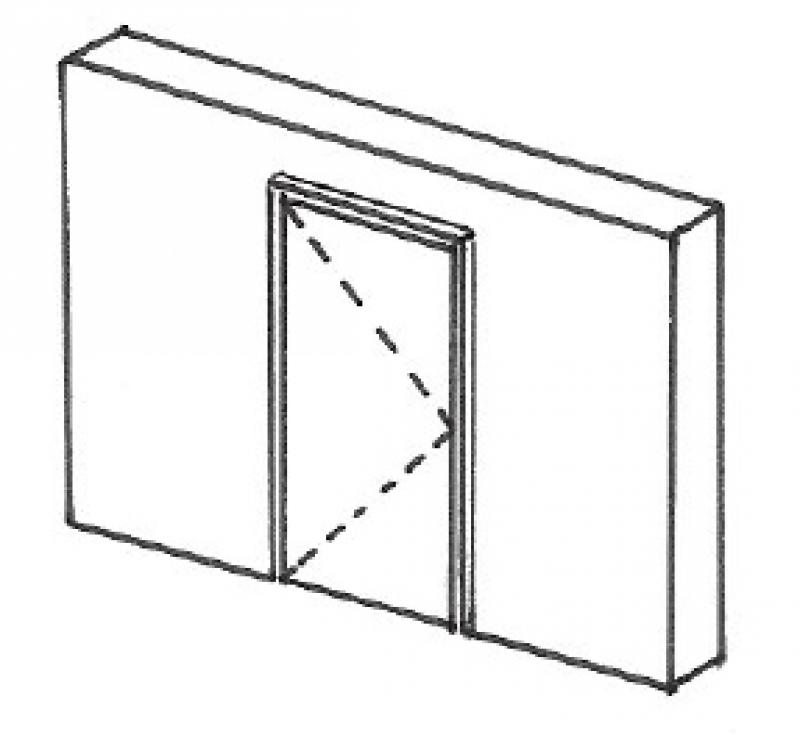
Model representation
Features
Feature
- Door Panel Construction
- Sound insulation class
- U-value
Parameters
Outline Information
- Width of door panel (exterior)
- Door panel glass area
- Perimeter of door leaf glass area
Labeling
During this phase, the height and width of the door are marked.
The clear passage width/height is indicated here. Plan view:
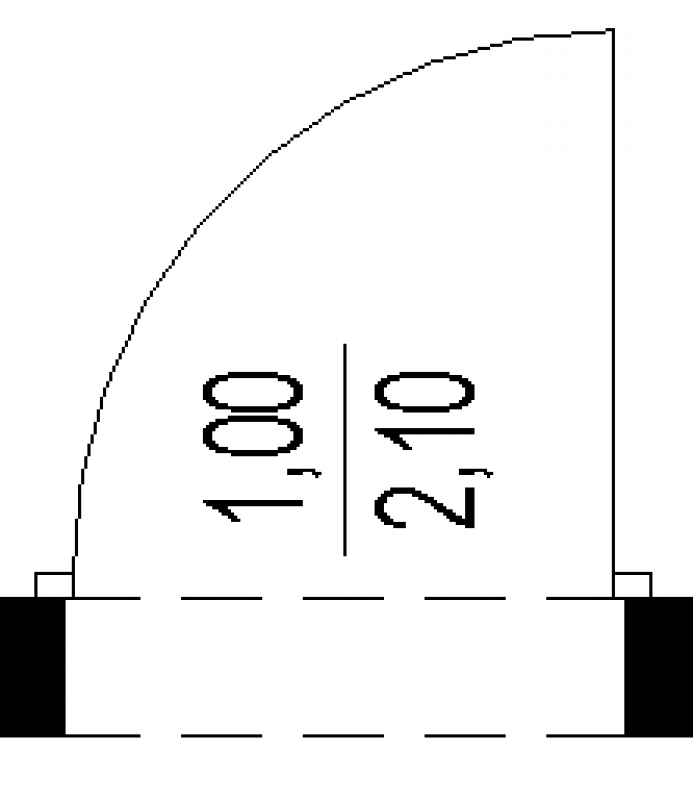
The width and height of the shell are indicated here. Plan view:
The clear passage width/height is indicated here. Plan view:
Instructions
Depending on the content used, these required characteristics can vary; this also determines the modeling methodology (single-layer or hybrid). Accordingly, an opening function must be provided for the door; this is not the case with a single-layer modeling methodology.
The basic process of modeling an opening in the form of a door in ARCHICAD remains the same across the various design phases—and regardless of the type of door.
A door is always inserted into a wall that has already been modeled. When doing so, pay attention to its positioning on the ground floor, particularly the floor construction height. The library offers a selection of different objects for various door types, depending on their frame construction. A door is labeled using the marker available in the settings dialog.
Detailed instructions on doors can be found in the tutorials: under ARCHICAD Specifics > Building Elements > Openings - Door.
During this phase of the design process, additional building physics data is incorporated into the component.
This also includes information related to fire safety.
Presentation
Floor plan
Model representation
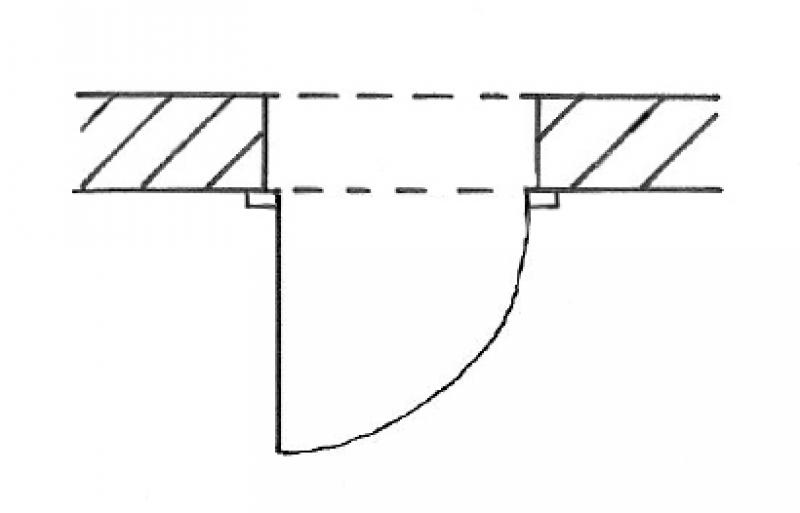
Floor plan
Model representation
Floor plan
Model representation
Features
Feature
- Door Panel Construction
- Sound insulation class
- U-value
Parameters
- Width of door panel (exterior)
- Door panel glass area
- Perimeter of door leaf glass area
Outline Information
Labeling
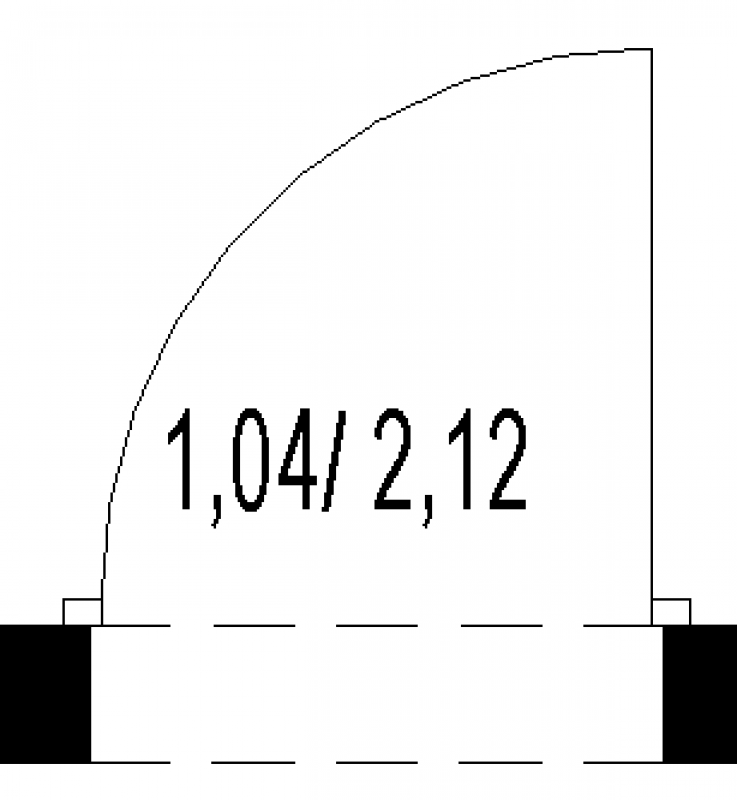
During this phase, the height and width of the door are marked.
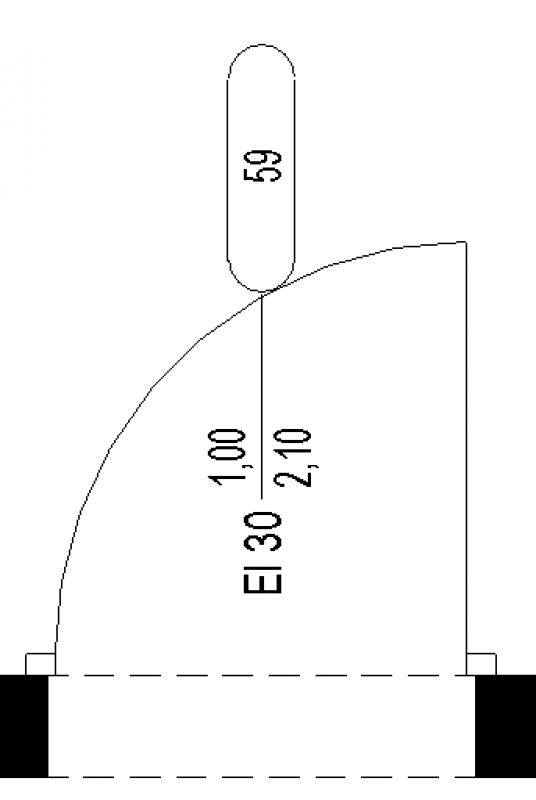
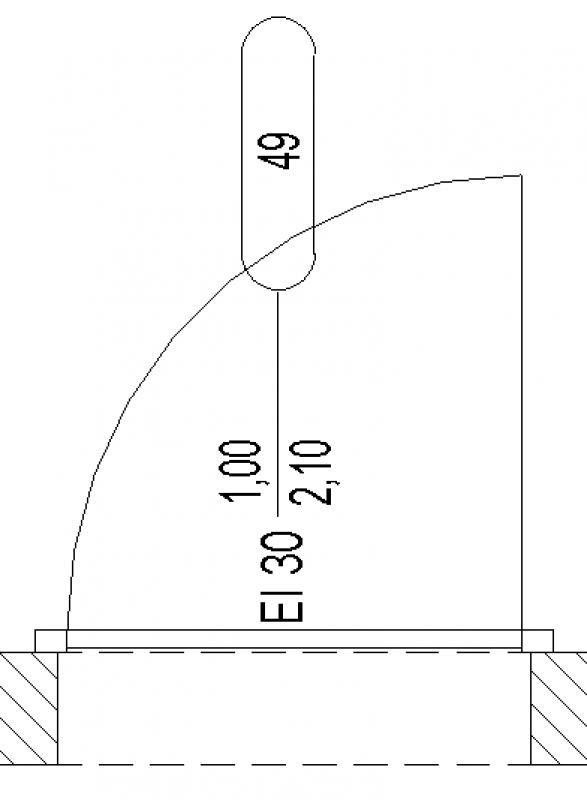
The clear opening width and height, the fire resistance rating, and the door number are labeled here. Plan view:
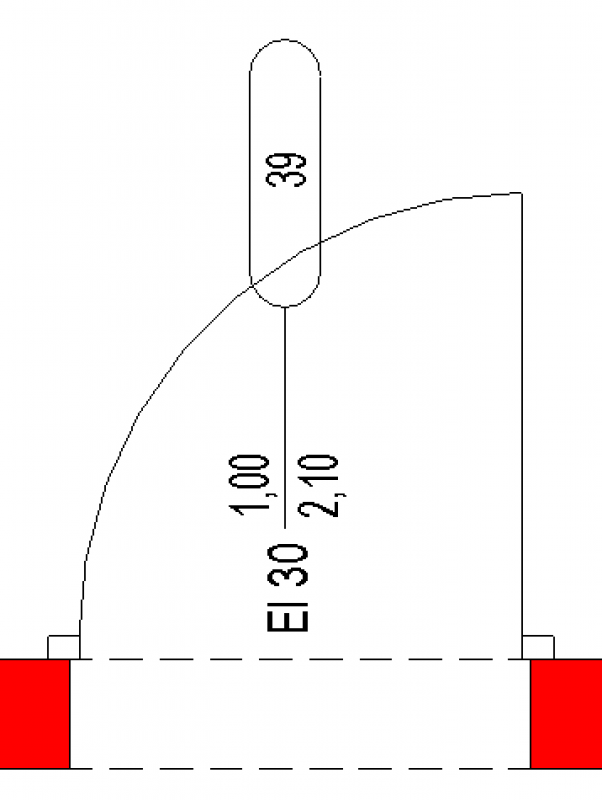
The opening width and height, the fire resistance rating, and the door number are indicated here. Plan view:
The clear opening width and height, the fire resistance rating, and the door number are labeled here. Plan view:
Instructions
Features:
In this phase, the building physics properties must be added to the door. These are defined at the type or instance level, depending on the content used.
The basic process of modeling an opening in the form of a door in ARCHICAD remains the same across the various design phases—and regardless of the type of door.
A door is always inserted into a wall that has already been modeled. When doing so, pay attention to its positioning on the ground floor, particularly the floor structure height. The library offers a selection of different objects for the various door types, depending on their frame construction. A door is labeled using the marker available in the settings dialog.
Detailed instructions on doors can be found in the tutorials: under ARCHICAD Specifics > Building Elements > Openings - Door.
During this phase, the design details are finalized. If necessary, the doors are modified accordingly.
Presentation
Floor plan
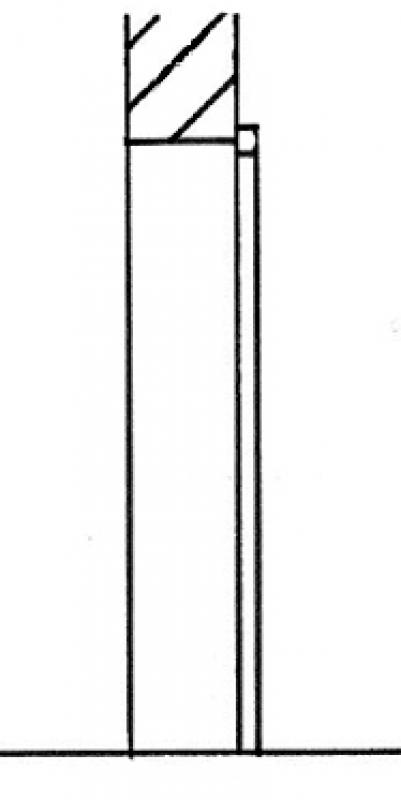
Cut
Model
Features
Feature
- Lock model
- Door closer model
- Manufacturer
Parameters
- External width of the window frame
- External frame height
- External door leaf height
Outline Information
Labeling
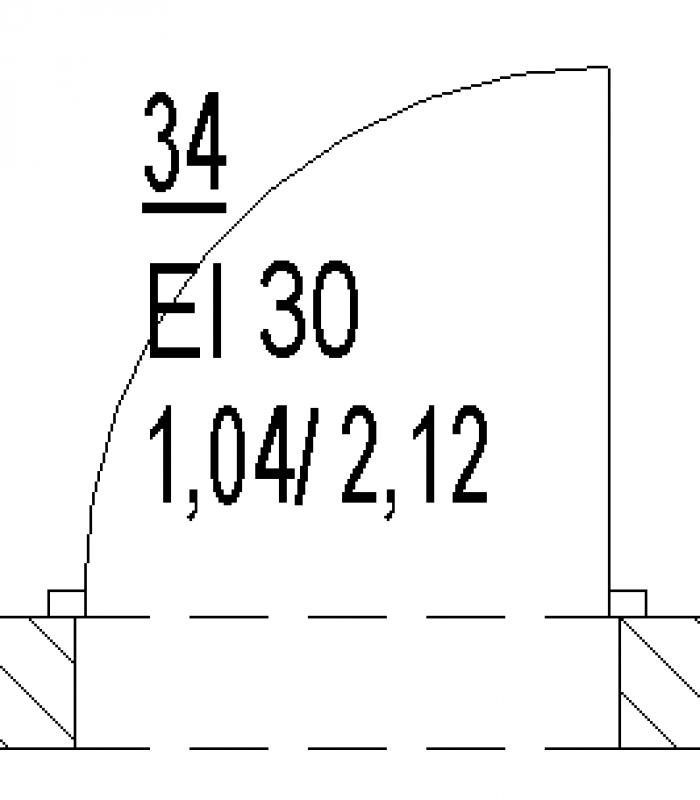
The clear opening width and height, the fire resistance rating, and the door number are labeled here.
Plan view:
The following information is labeled here: the width and height of the opening, the fire resistance rating, the door number, and the sound insulation rating.
Plan view:
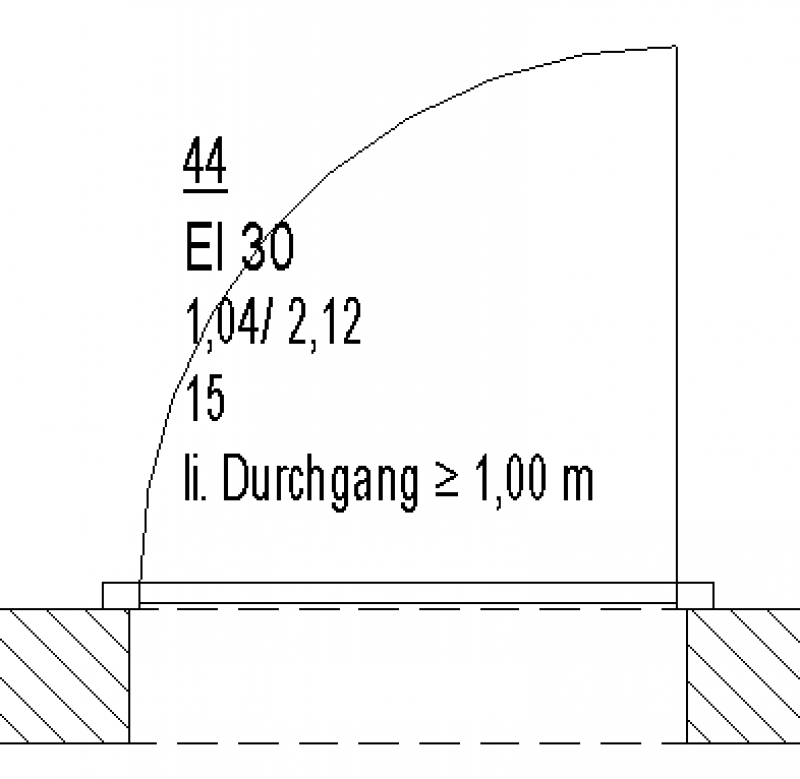
The clear opening width and height, the fire resistance rating, and the door number are labeled here.
Plan view:
Instructions
Depending on the content used, the required characteristics may vary.
The basic process of modeling an opening in the form of a door in ARCHICAD remains the same across the various design phases—and regardless of the type of door.
A door is always inserted into a wall that has already been modeled. When doing so, pay attention to its positioning on the floor in question, particularly the floor structure height. The library offers a selection of different objects for various door types, depending on their frame construction. A door is labeled using the marker available in the settings dialog.
Detailed instructions on doors can be found in the tutorials: under ARCHICAD Specifics > Building Elements > Openings - Door.

Unfortunately, this content is available only to our Pro users.
If you'd like to read the full article, try the Pro account or become a Pro user.